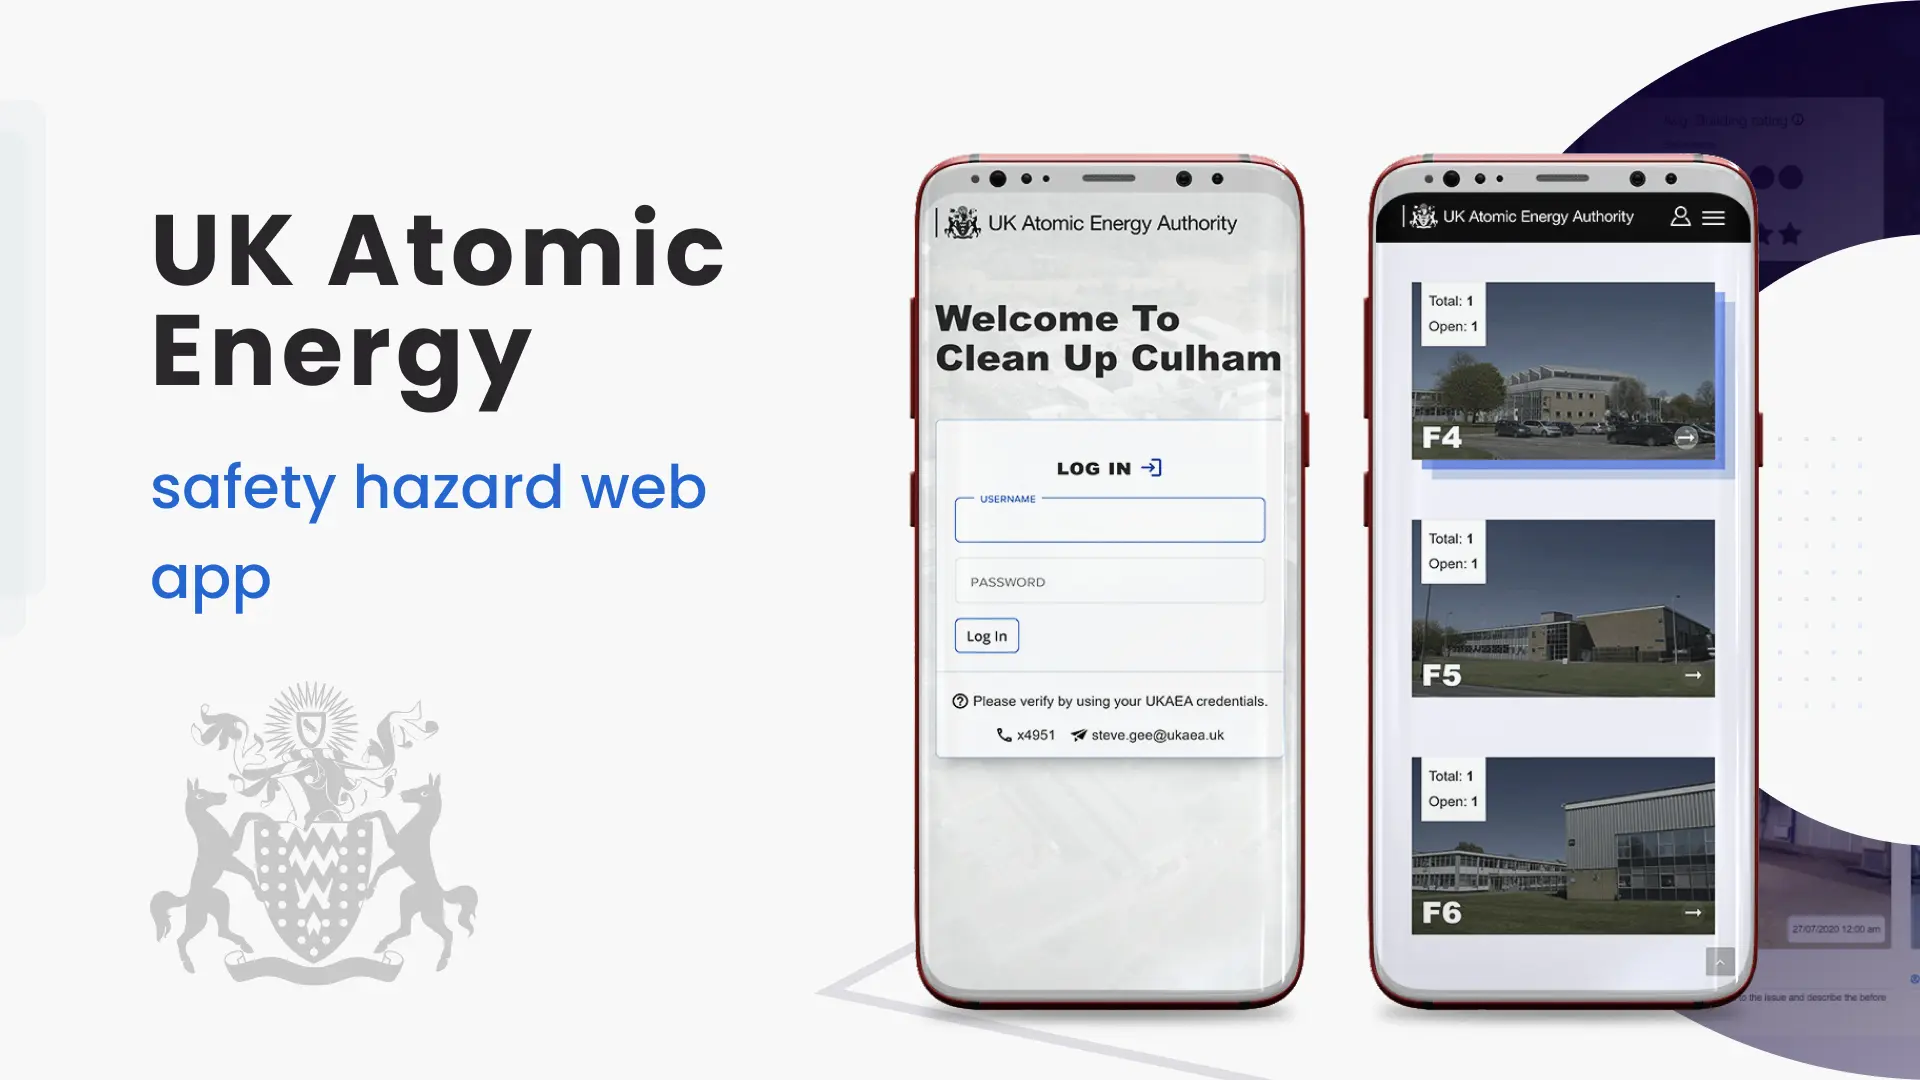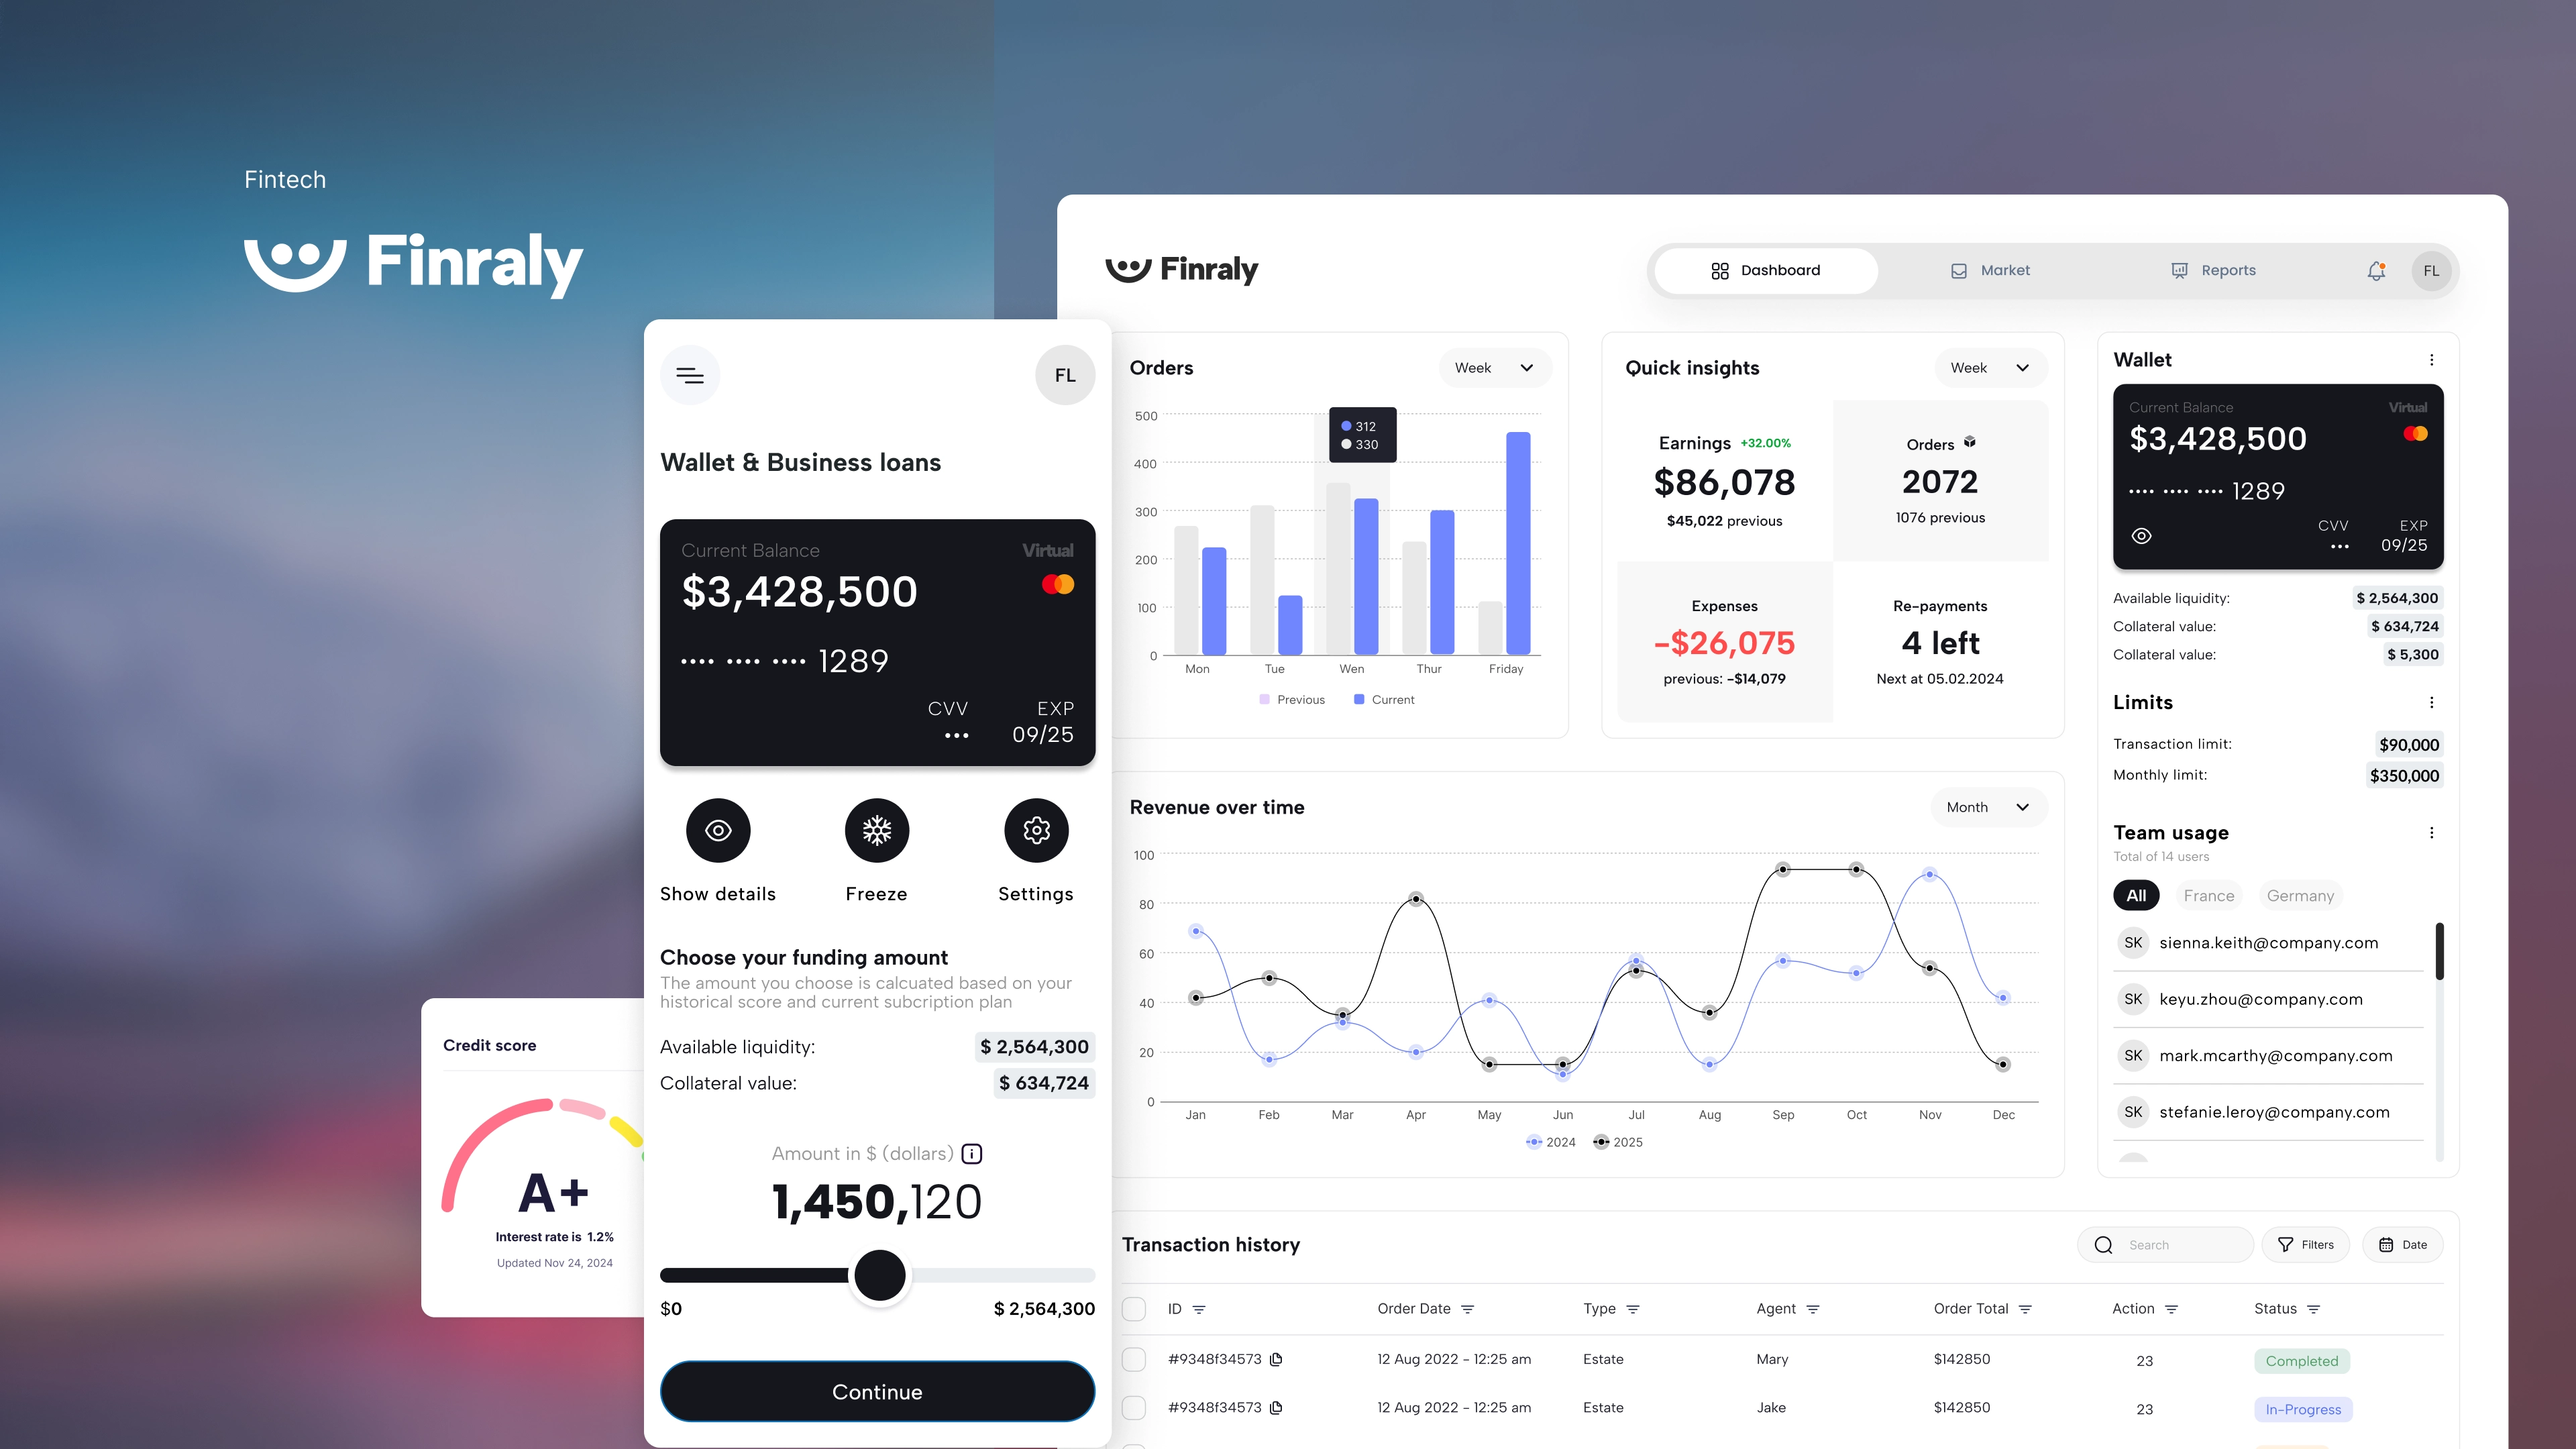
Project automation Web App
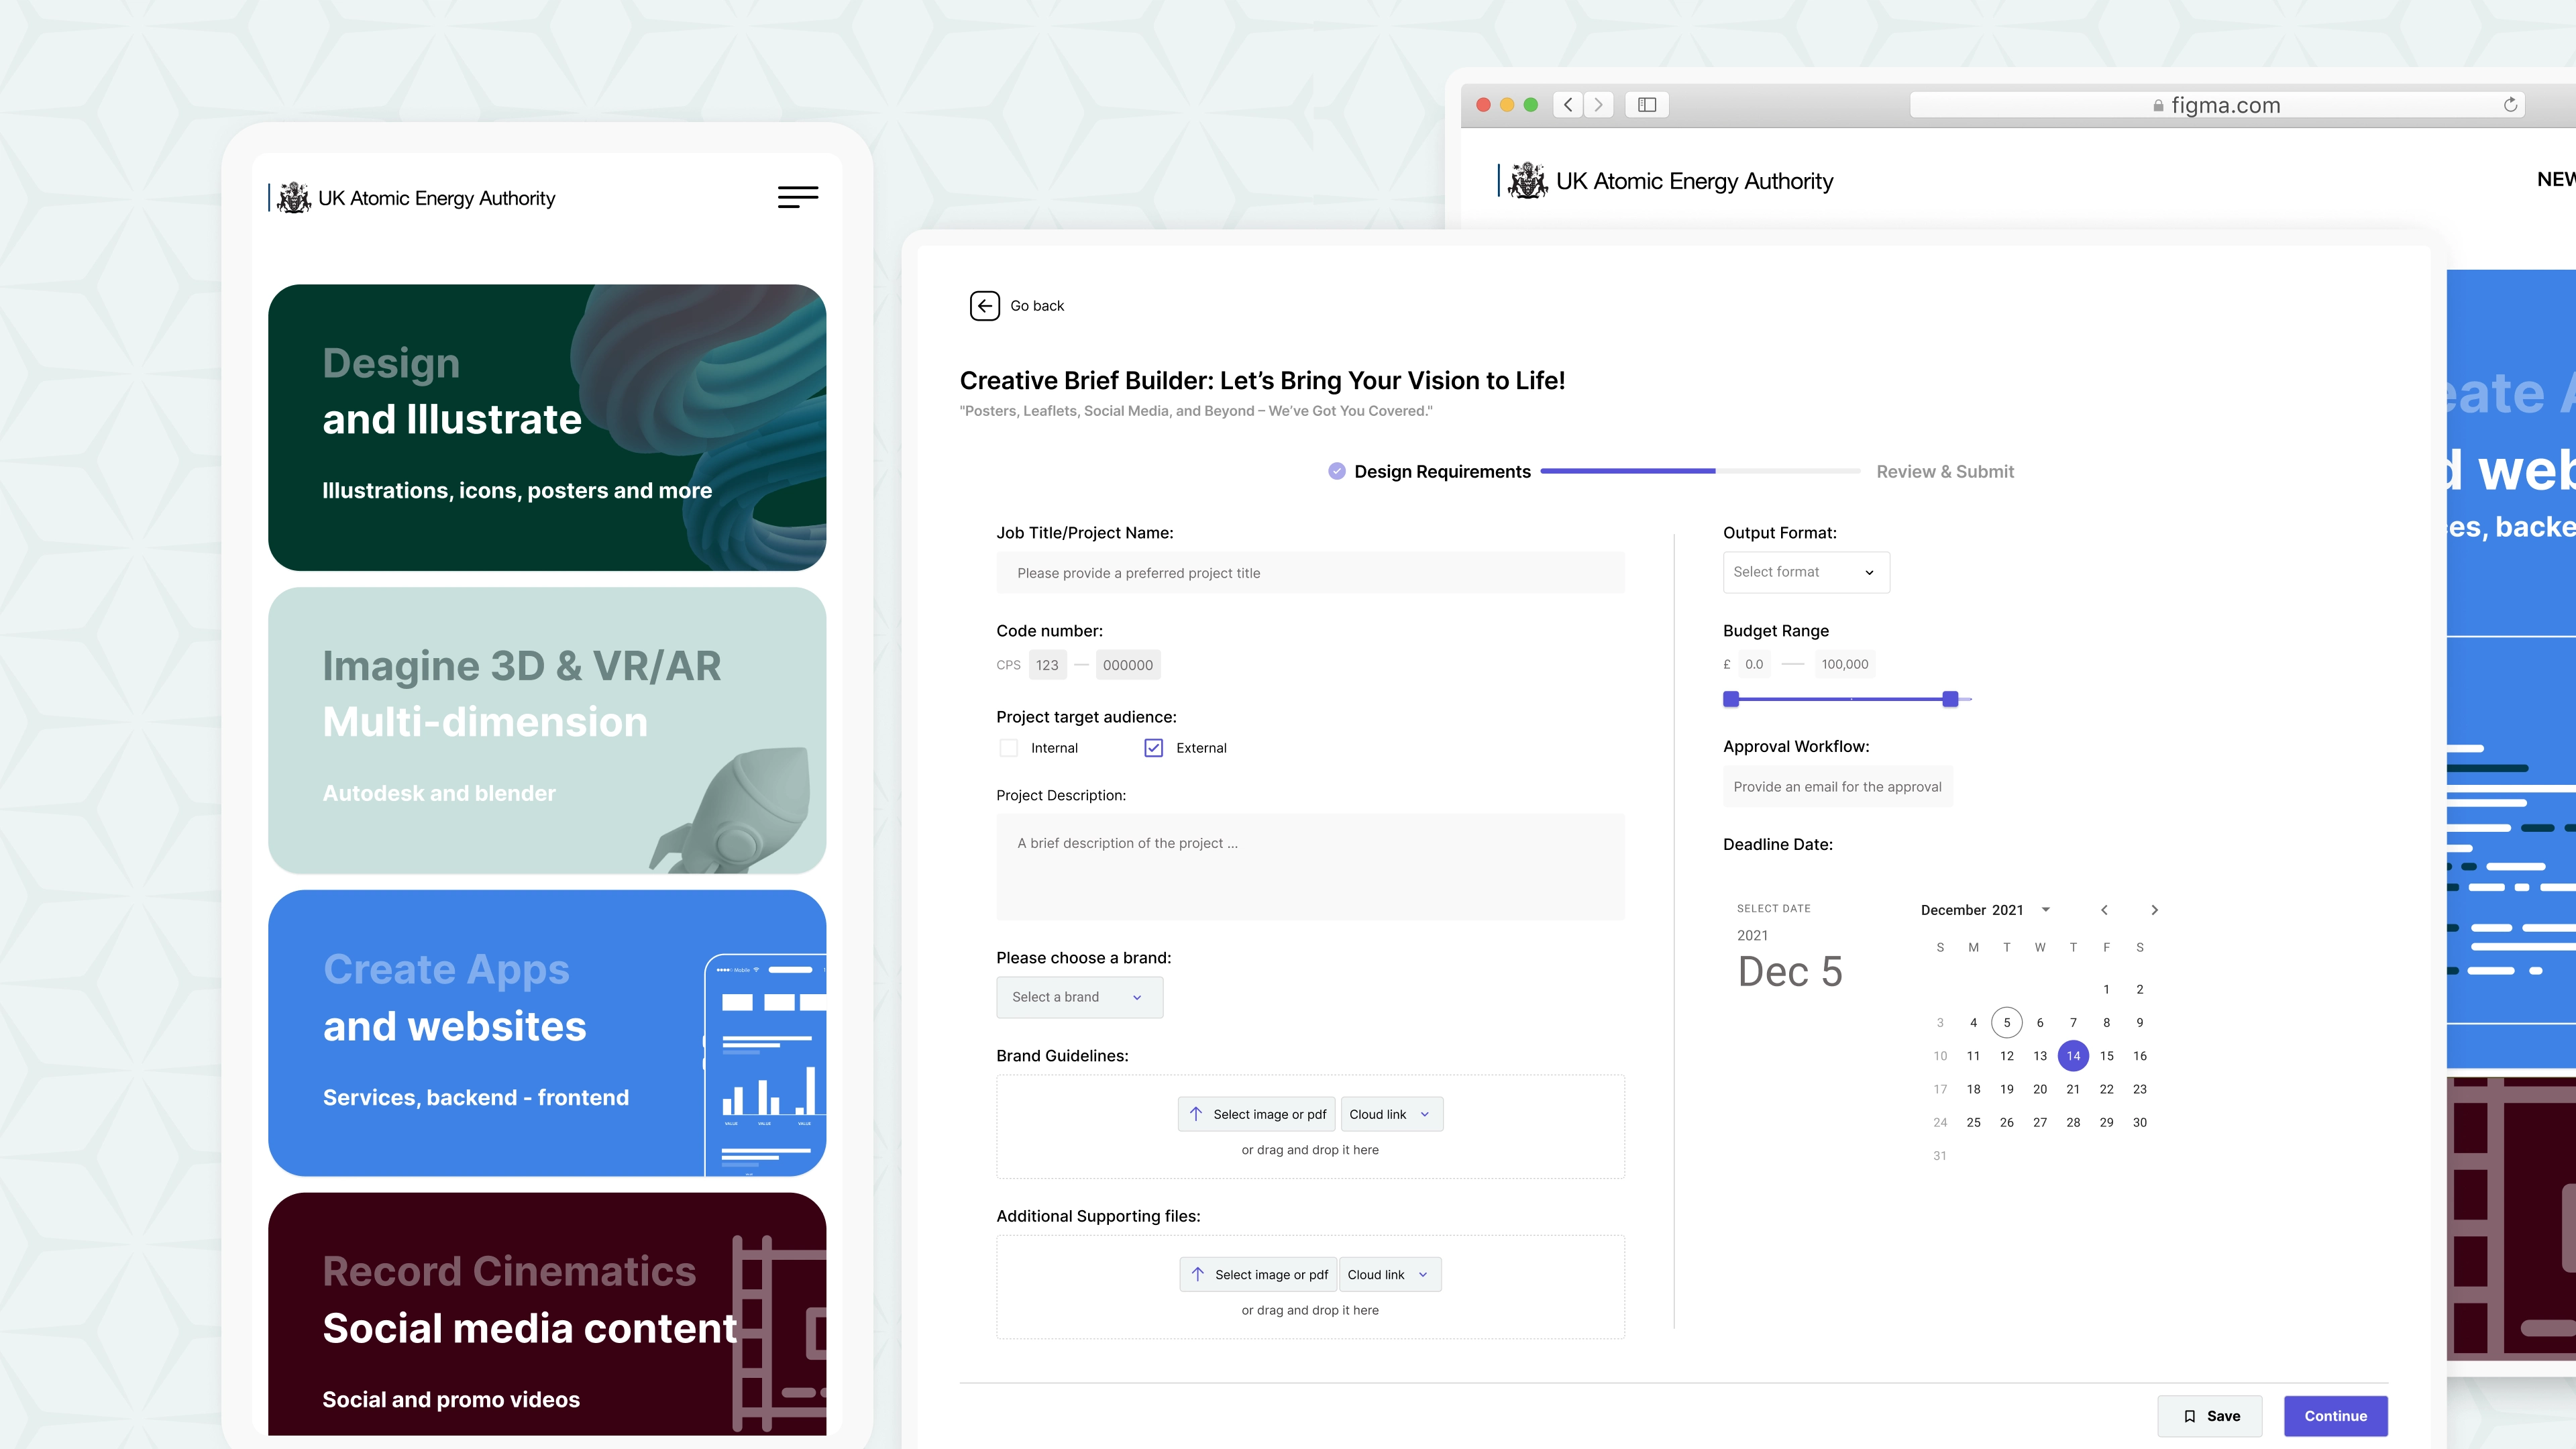
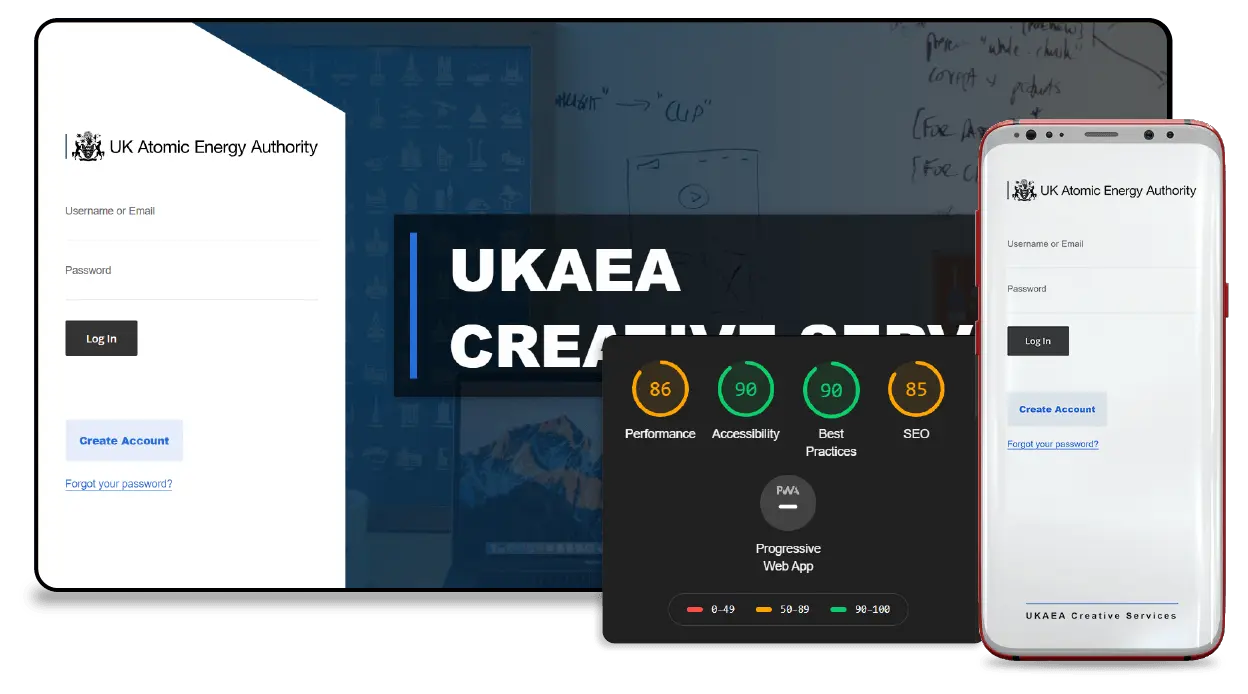
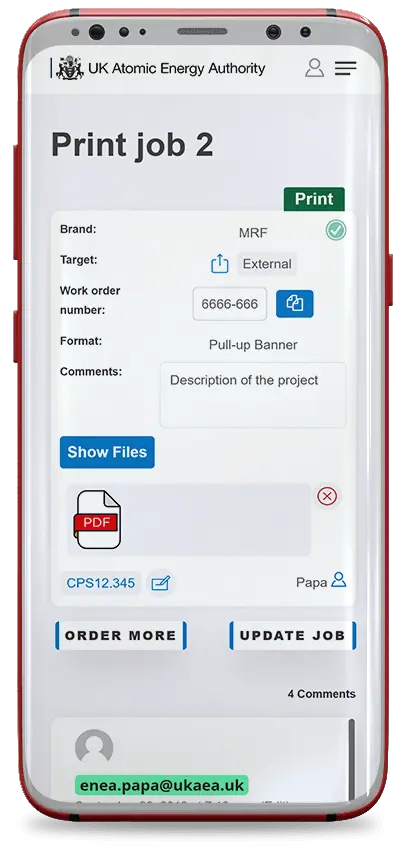
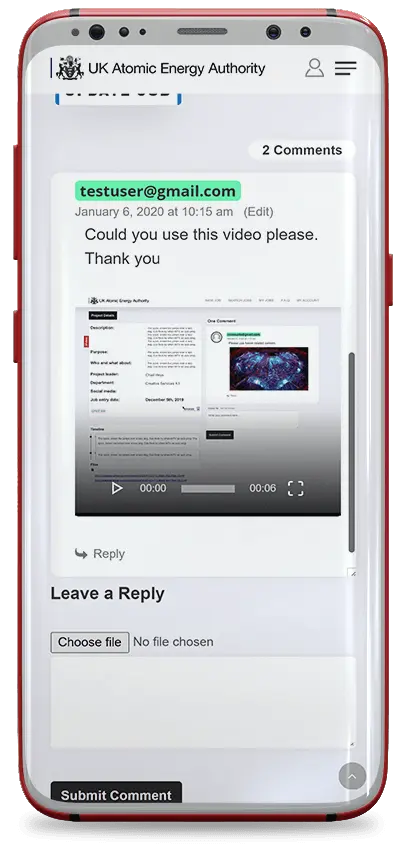
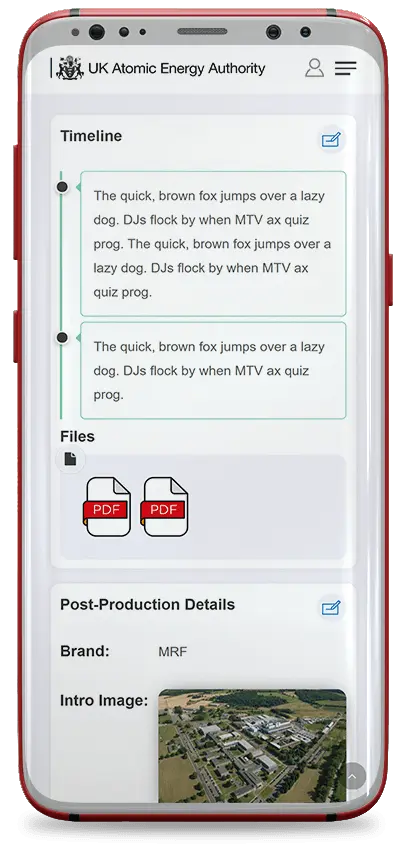
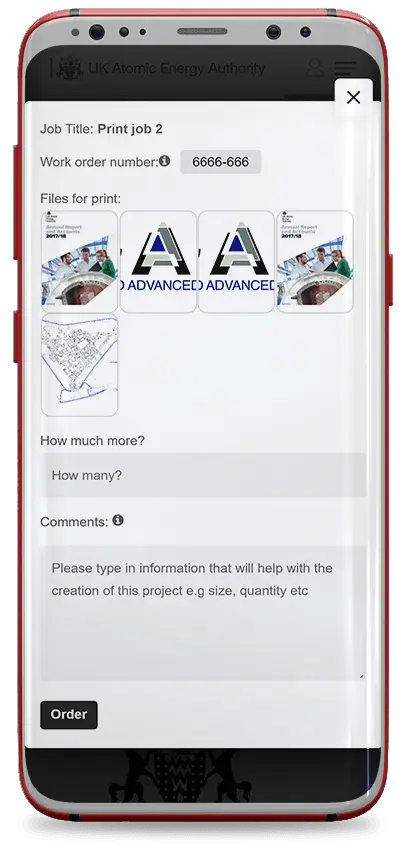
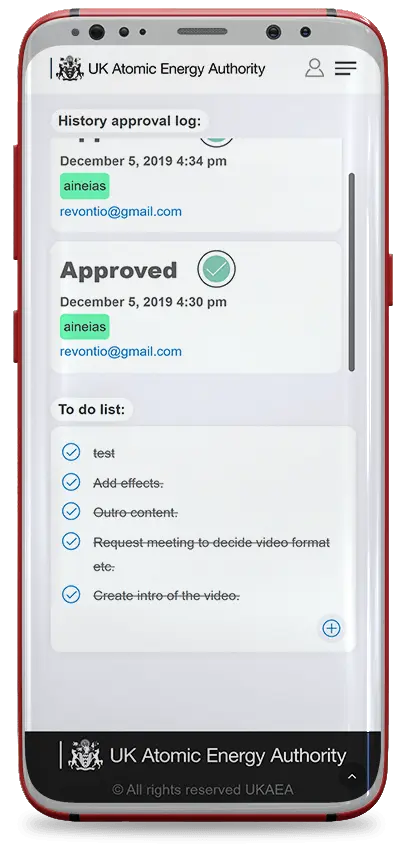
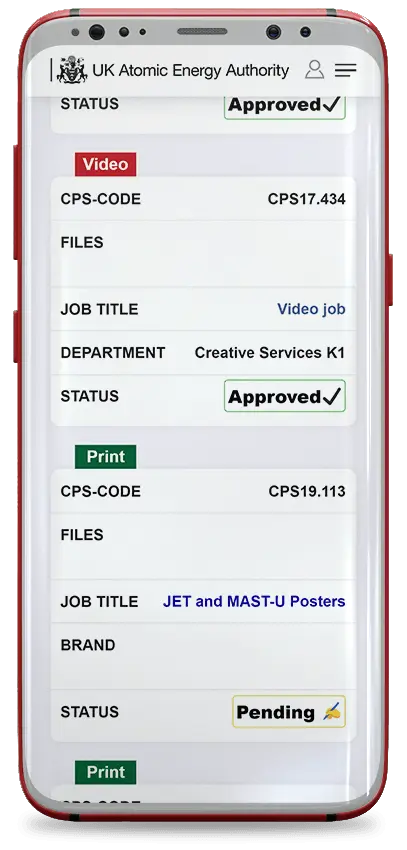
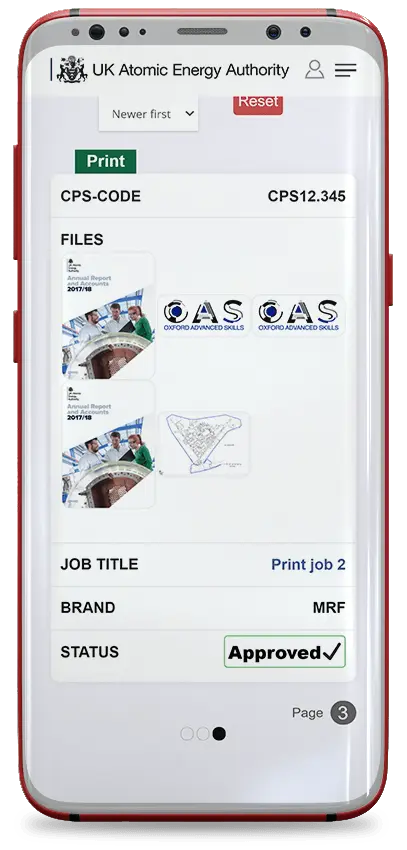
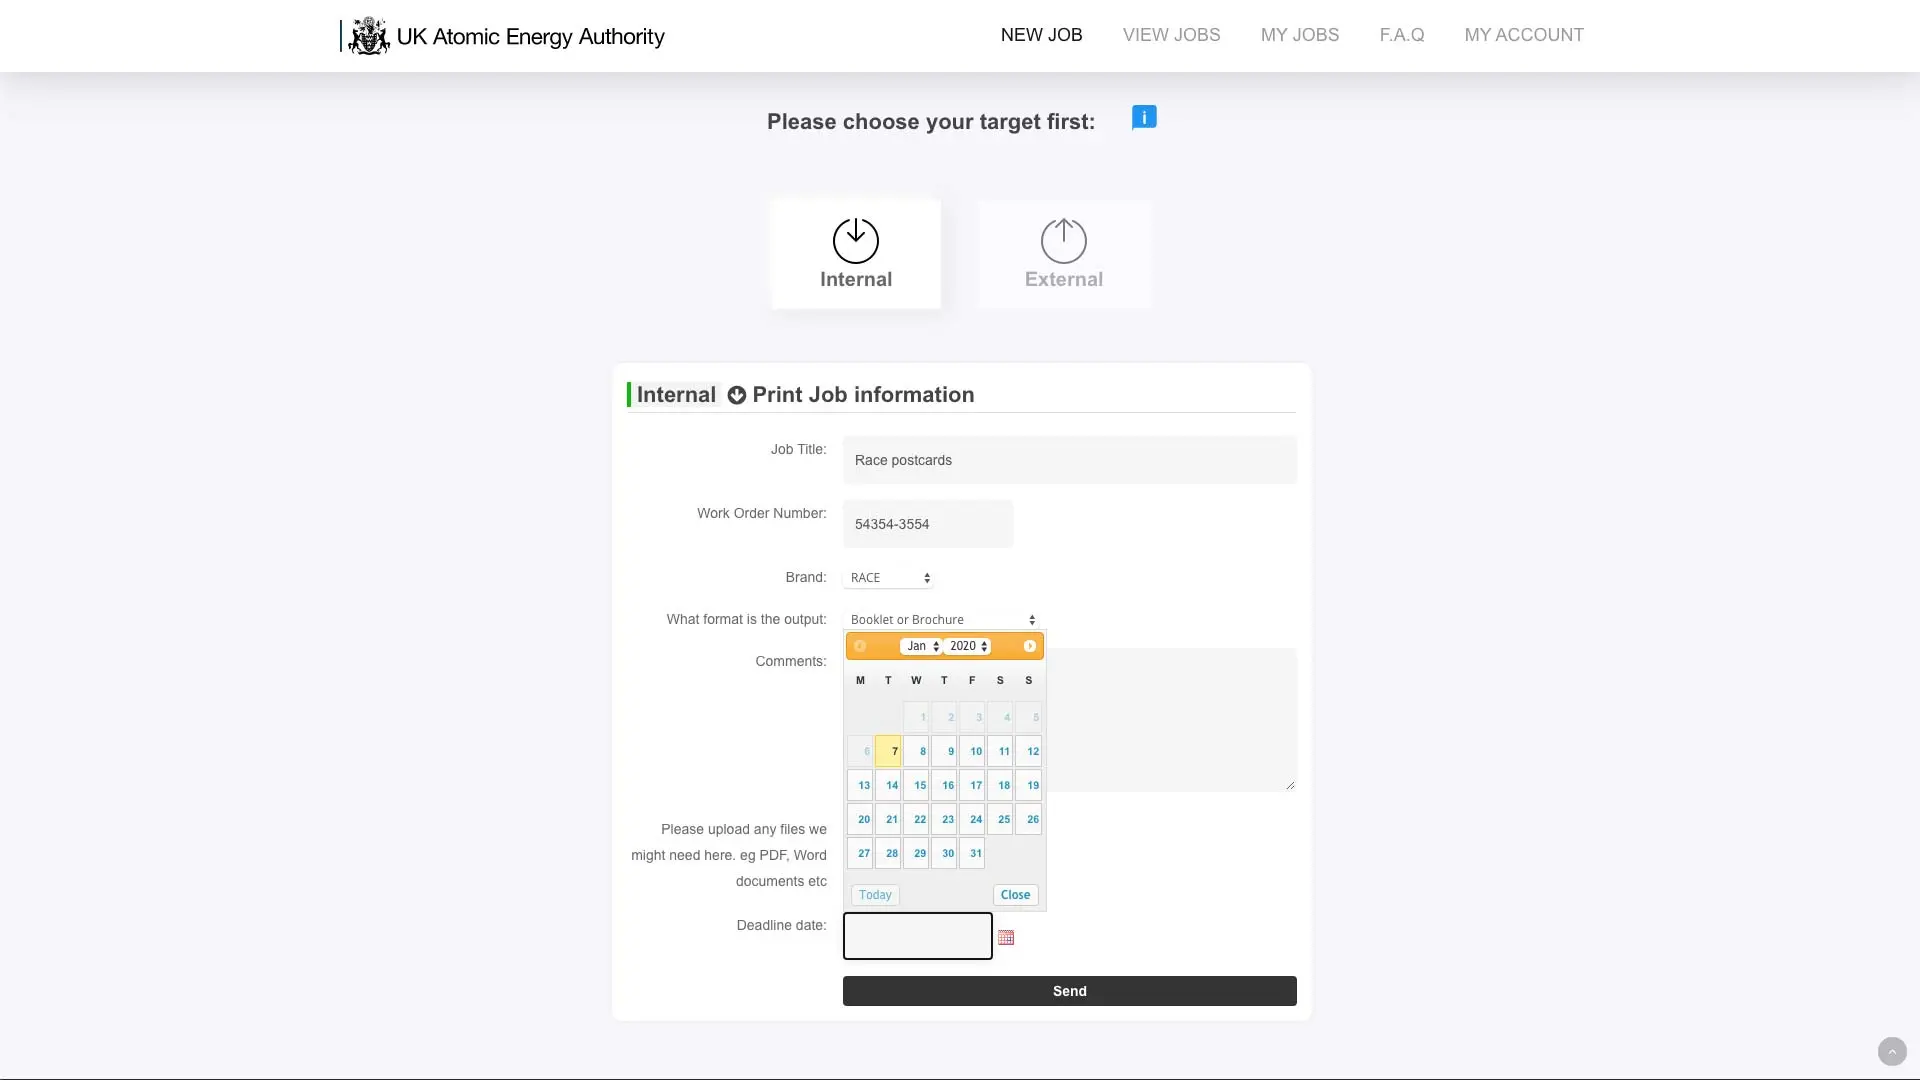
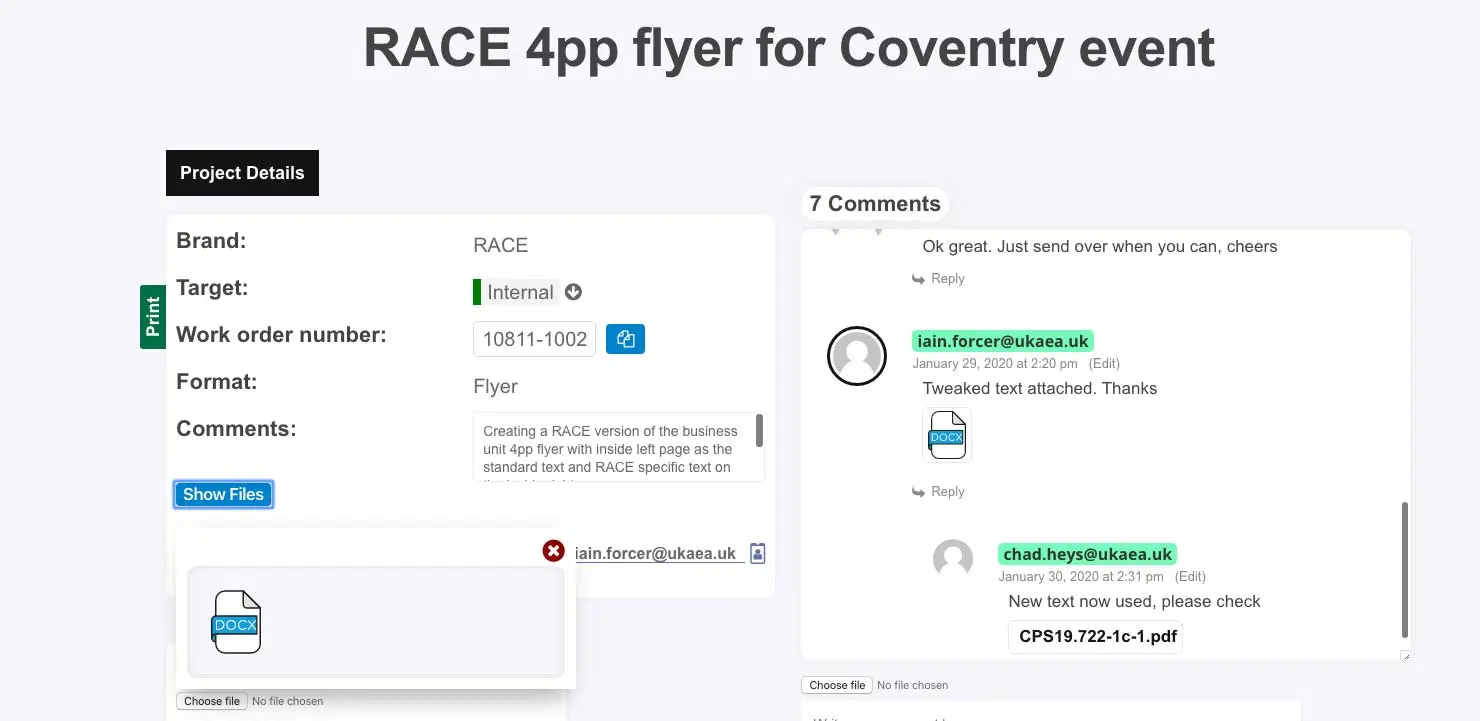
With this app, UKAEA users/business can create projects boards, todo lists, timeline cards, subtasks - to name a few - and manage their requests for the creative engineering department. The main purpose of this app was to automate mundane tasks.
Understanding the problem
This is another project i was tasked to design a solution to an common procedures problems. The challenge was to overcome inefficiencies in addressing stakeholder issues over the phone, often struggling to locate relevant project information.
Design Goals
Leveraging the insights gained from interviews with users across the organization, I was tasked with streamlining operational processes, including job operations, by designing simple yet effective platform workflows.
I defined the project goals as follows:
- Reduce the effort in data collection.
- Empower clients and managers to communicate through a unified system and reduce emails/phone calls.
- Keep files organized for quick access
- Create a throughout team collaborative way to effectively plan and execute upcoming new project requests
- Promote transparency while maintaining one single source.
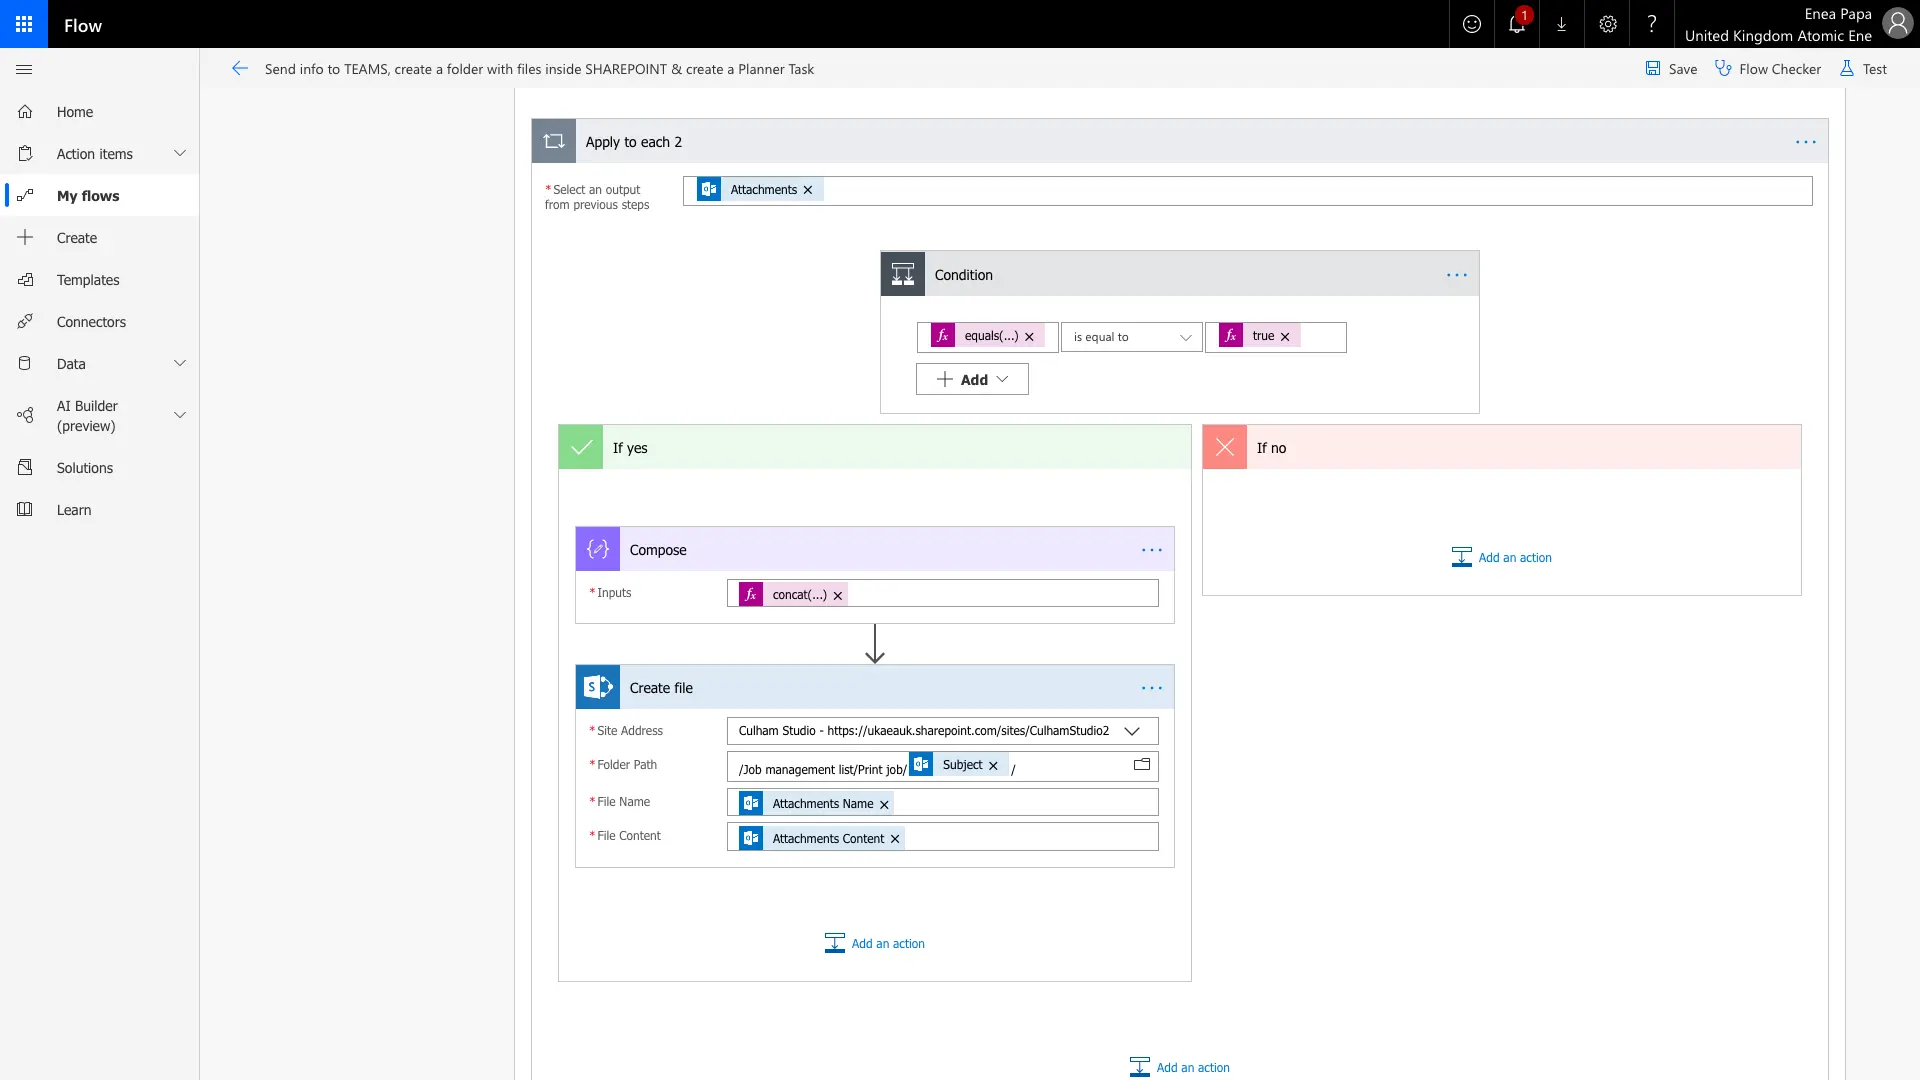
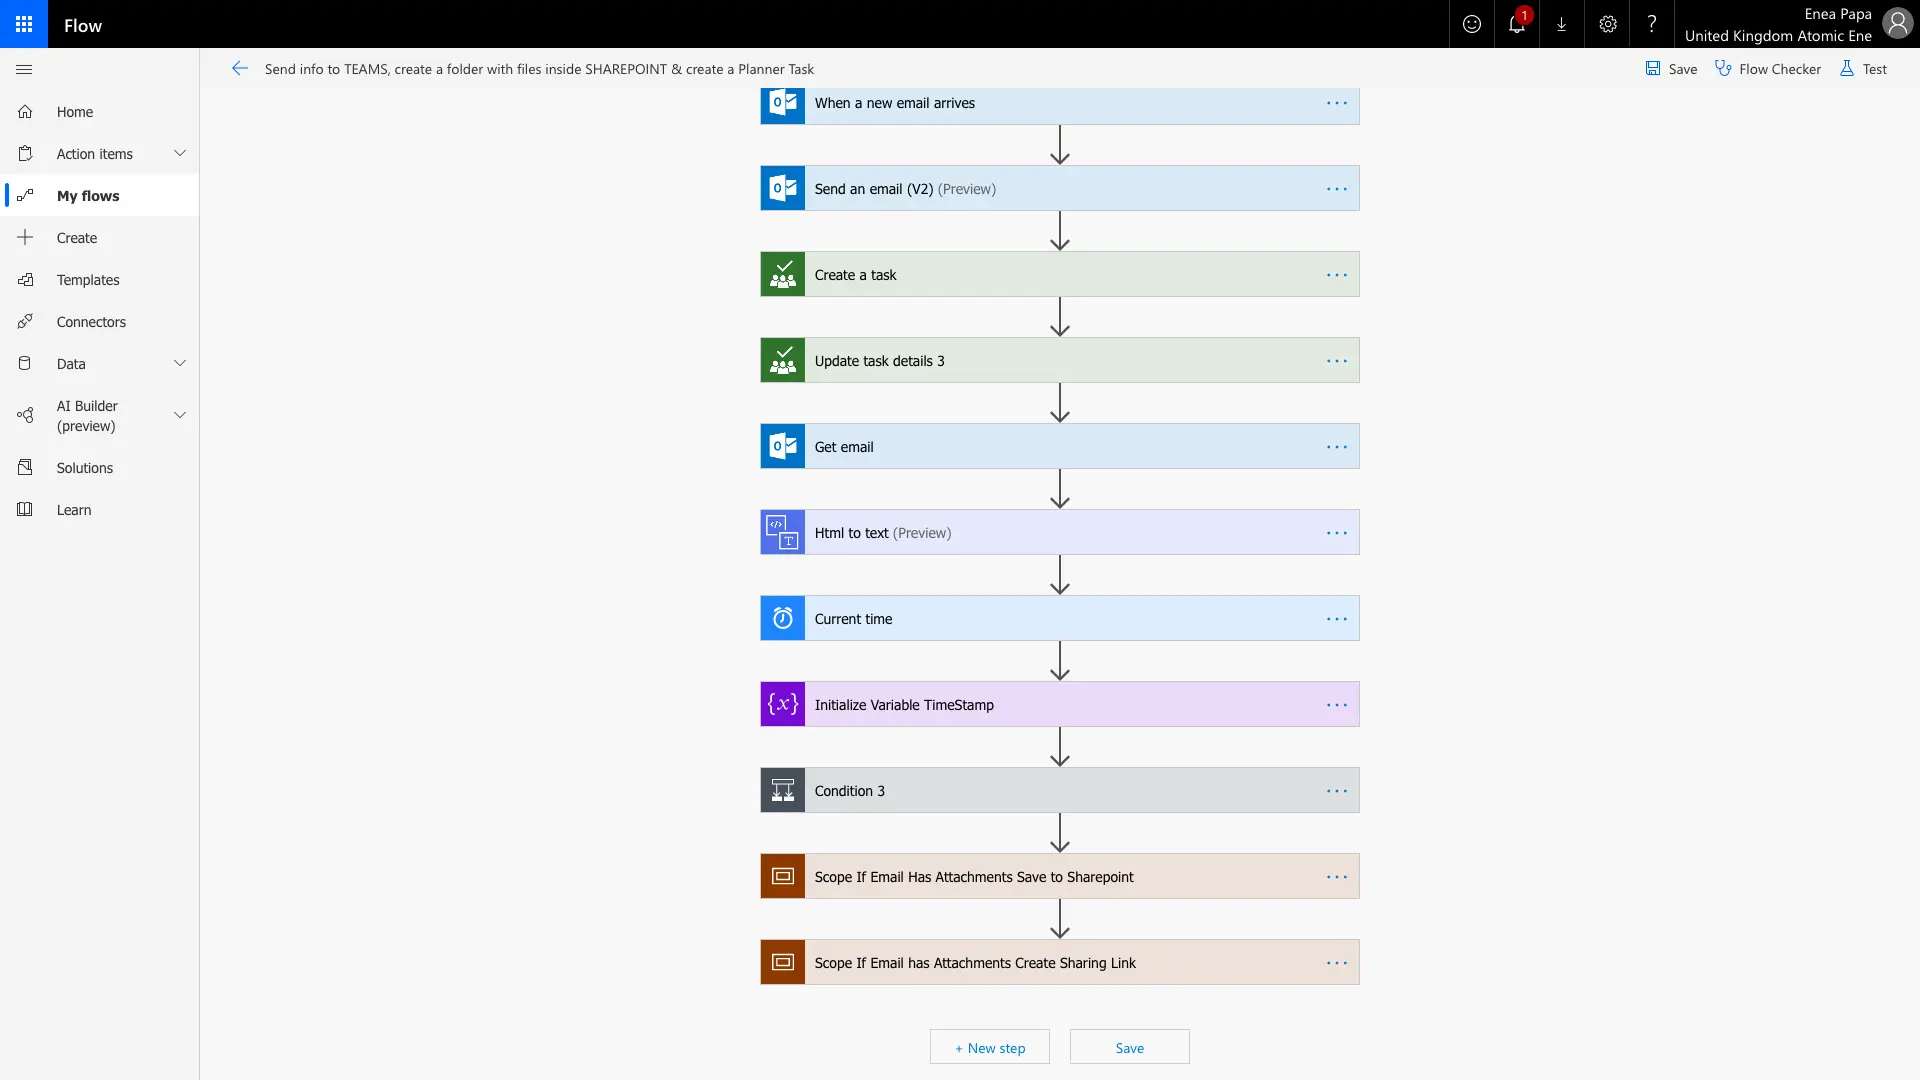
- Automate mundane tasks like creating folders of projects, SharePoint files, sending notification emails, etc.
The solution
Implementing a unified system with role-based views, each tailored to the specific needs and responsibilities of different user groups.
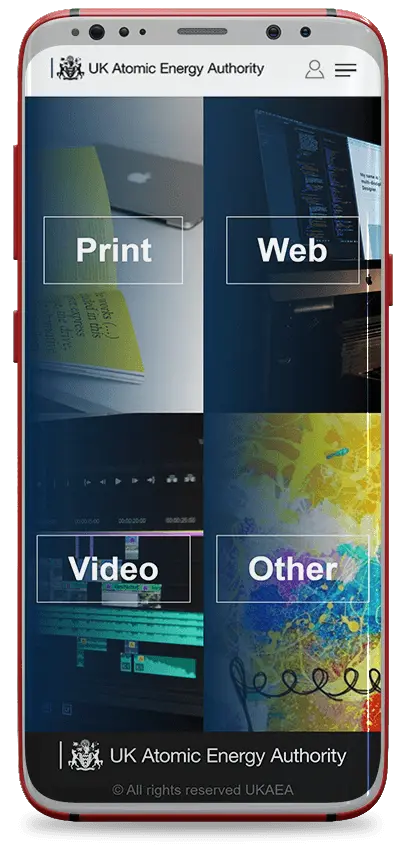
For instance, the stakeholders will have access to relevant project information and progress updates tools, while the print room will have its dedicated dashboard and print request management. This approach extends to various project types, including video production, website development, and 3D design.
Design Process
Below is the process i followed
Research / Interviews
Upon joining the team, I immersed myself in the existing workflow to gain a thorough understanding of the underlying issues.
Subsequently, I embarked on a series of interviews, starting with my department and then expanding to other relevant teams, including communications, marketing, print department and other companies within the facility. Following each interview, I diligently synthesized and documented key findings.
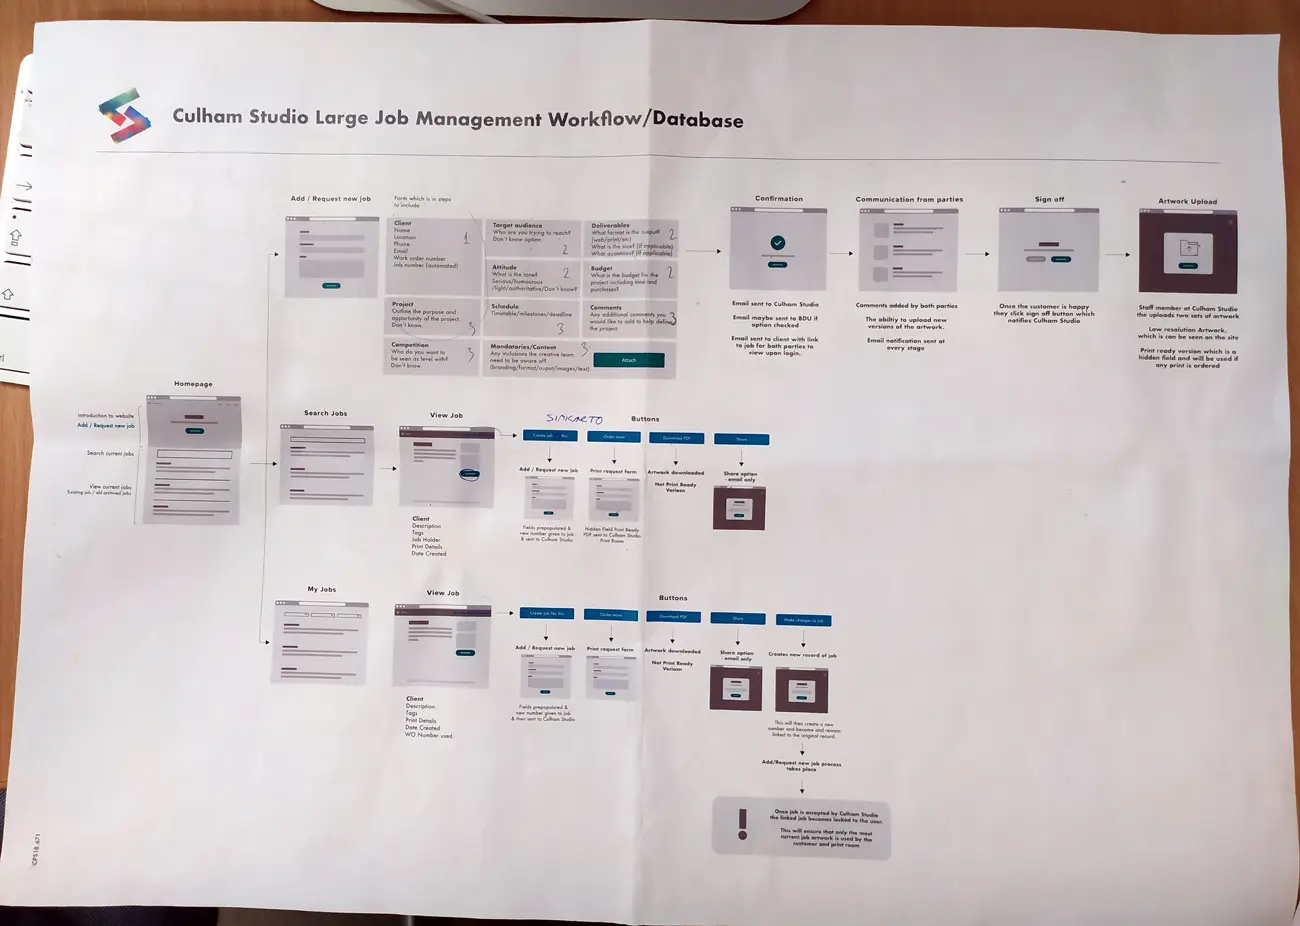
Flow model
Having gathered sufficient data, I developed a comprehensive flow model that illustrated the interactions between various stakeholders and systems involved in the process.
This model effectively identified key merging and breaking points, providing a clear understanding of the overall workflow.
User journey sample
Personas
Through interviews with multiple key end-users, I aligned with user needs, defined requirements, and gained insights into their aspirations. This informed the creation of real personas and not generic hypothesis.
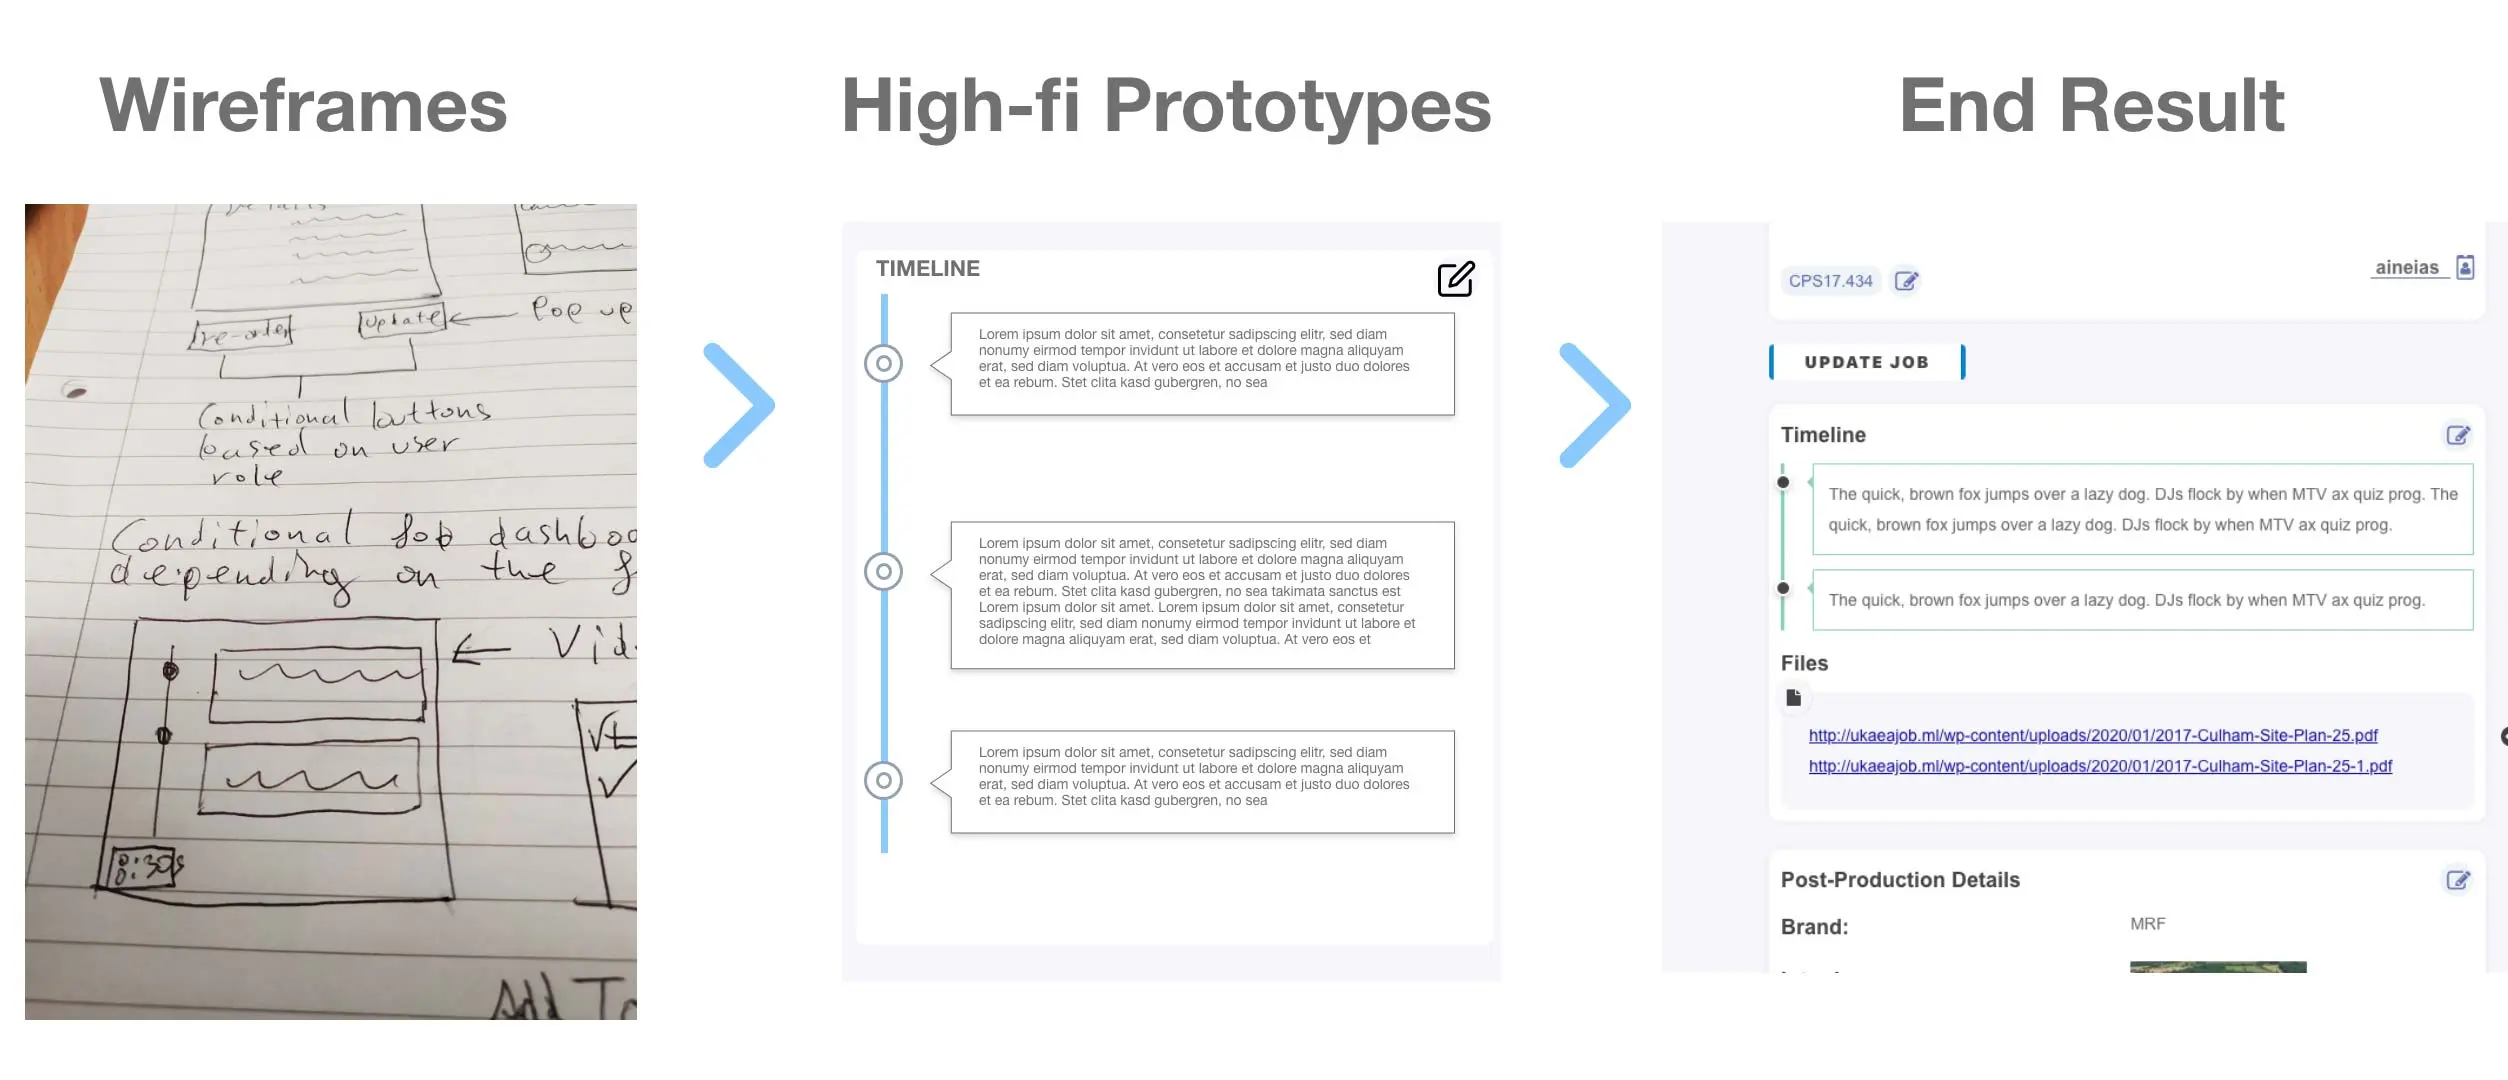
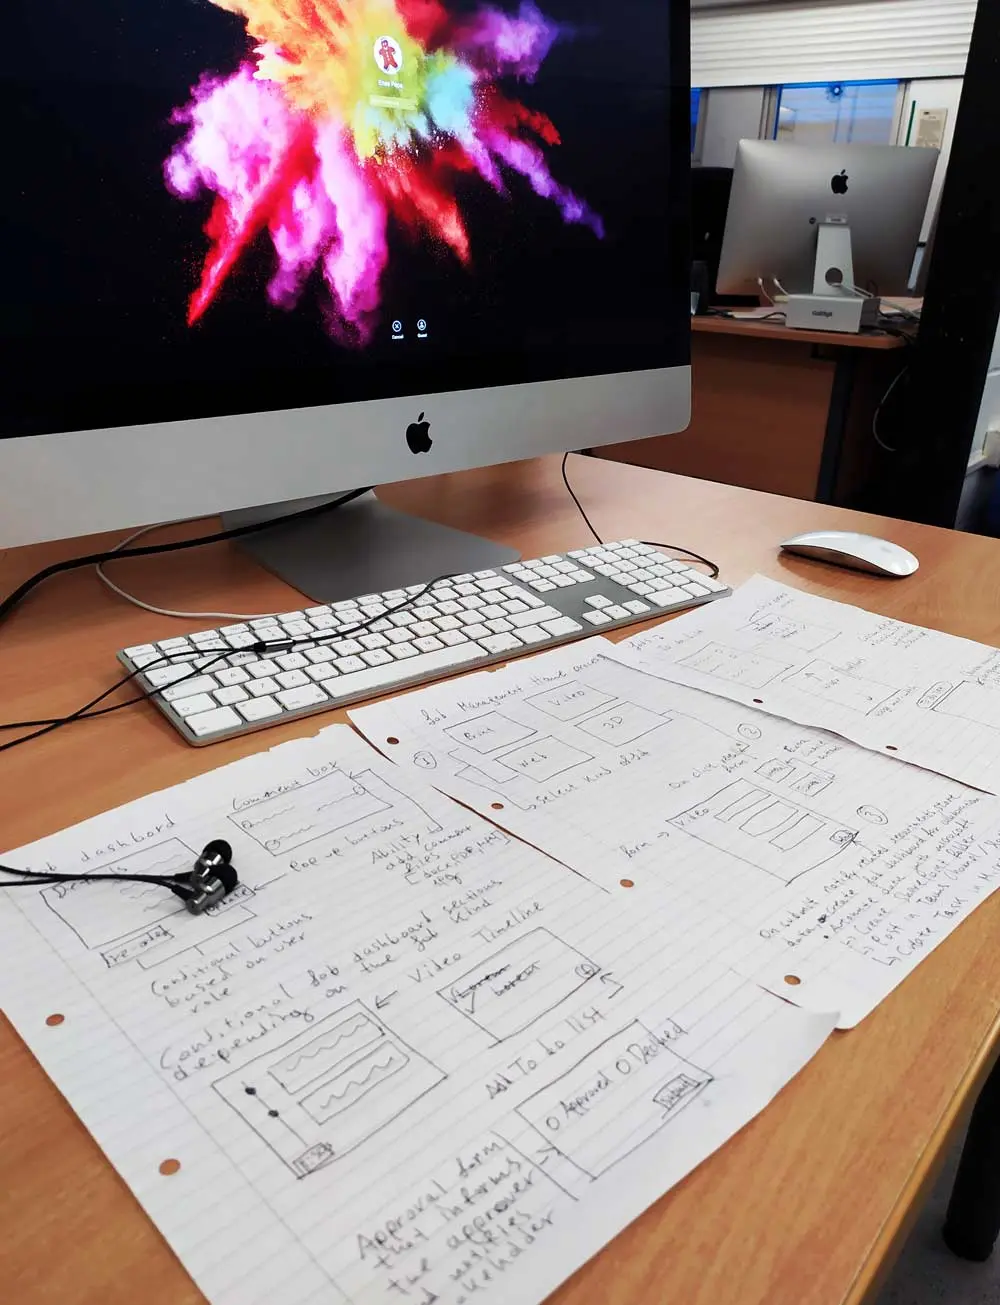
From low-fi to high-fi
Utilizing wireframes as a foundation, I prioritized crafting semi high-fidelity prototypes to facilitate early user testing and gather feedback on:
- Clearly visible elements
- Sufficient contrast and size
- A clear hierarchy of importance
- Key information that is discernable at a glance and more
I adopted an iterative design approach to craft a user-centric product, employing Adobe XD prototypes for each stage of validation. During user interviews, I shared prototype links to gather real-time feedback and refine the design accordingly.
After gathering all the feedback, I incorporated the changes needed.
Sample of design library and icons
A/B testing + User metrics
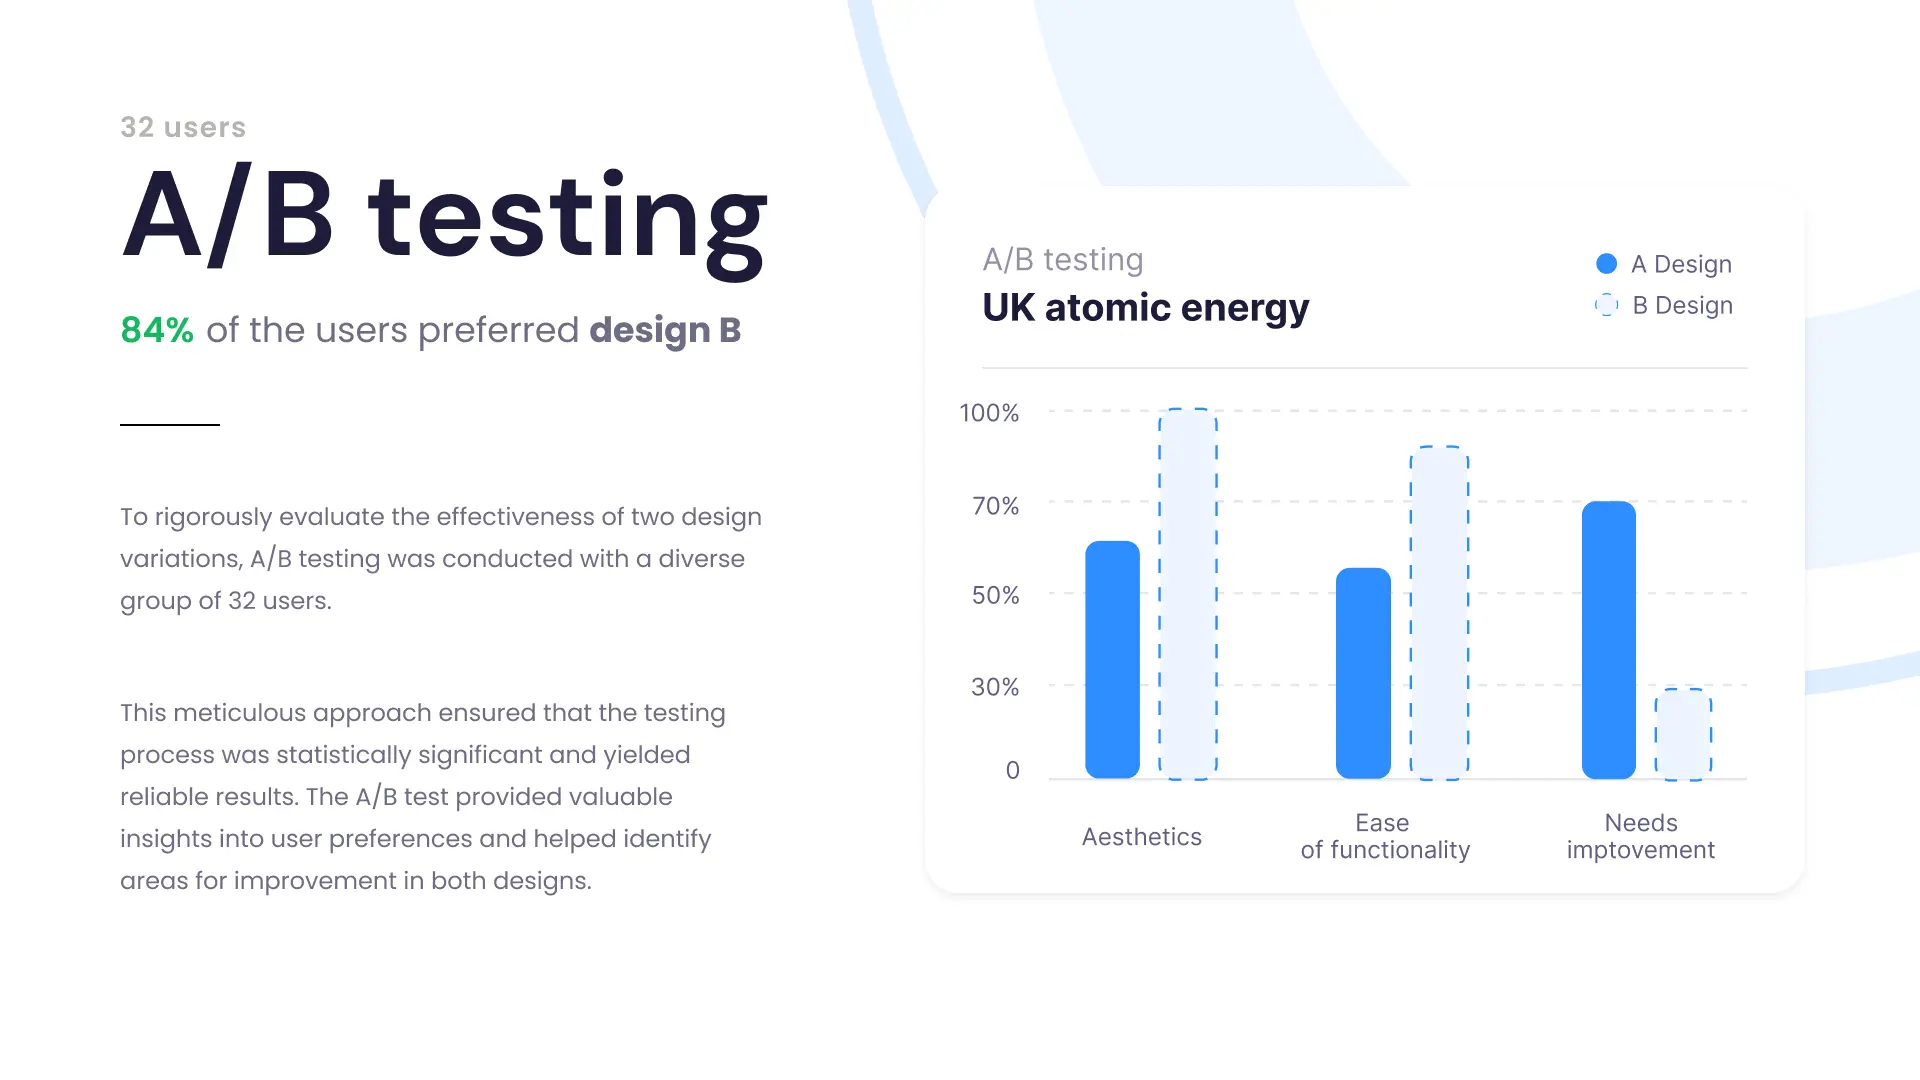
BEfore the end result i wanted to validate the design with the users. I wanted to make sure that the new design was more user-friendly and intuitive than the old one. By having usability test sessions with user and identify painpoints and see how they interact with the new design.
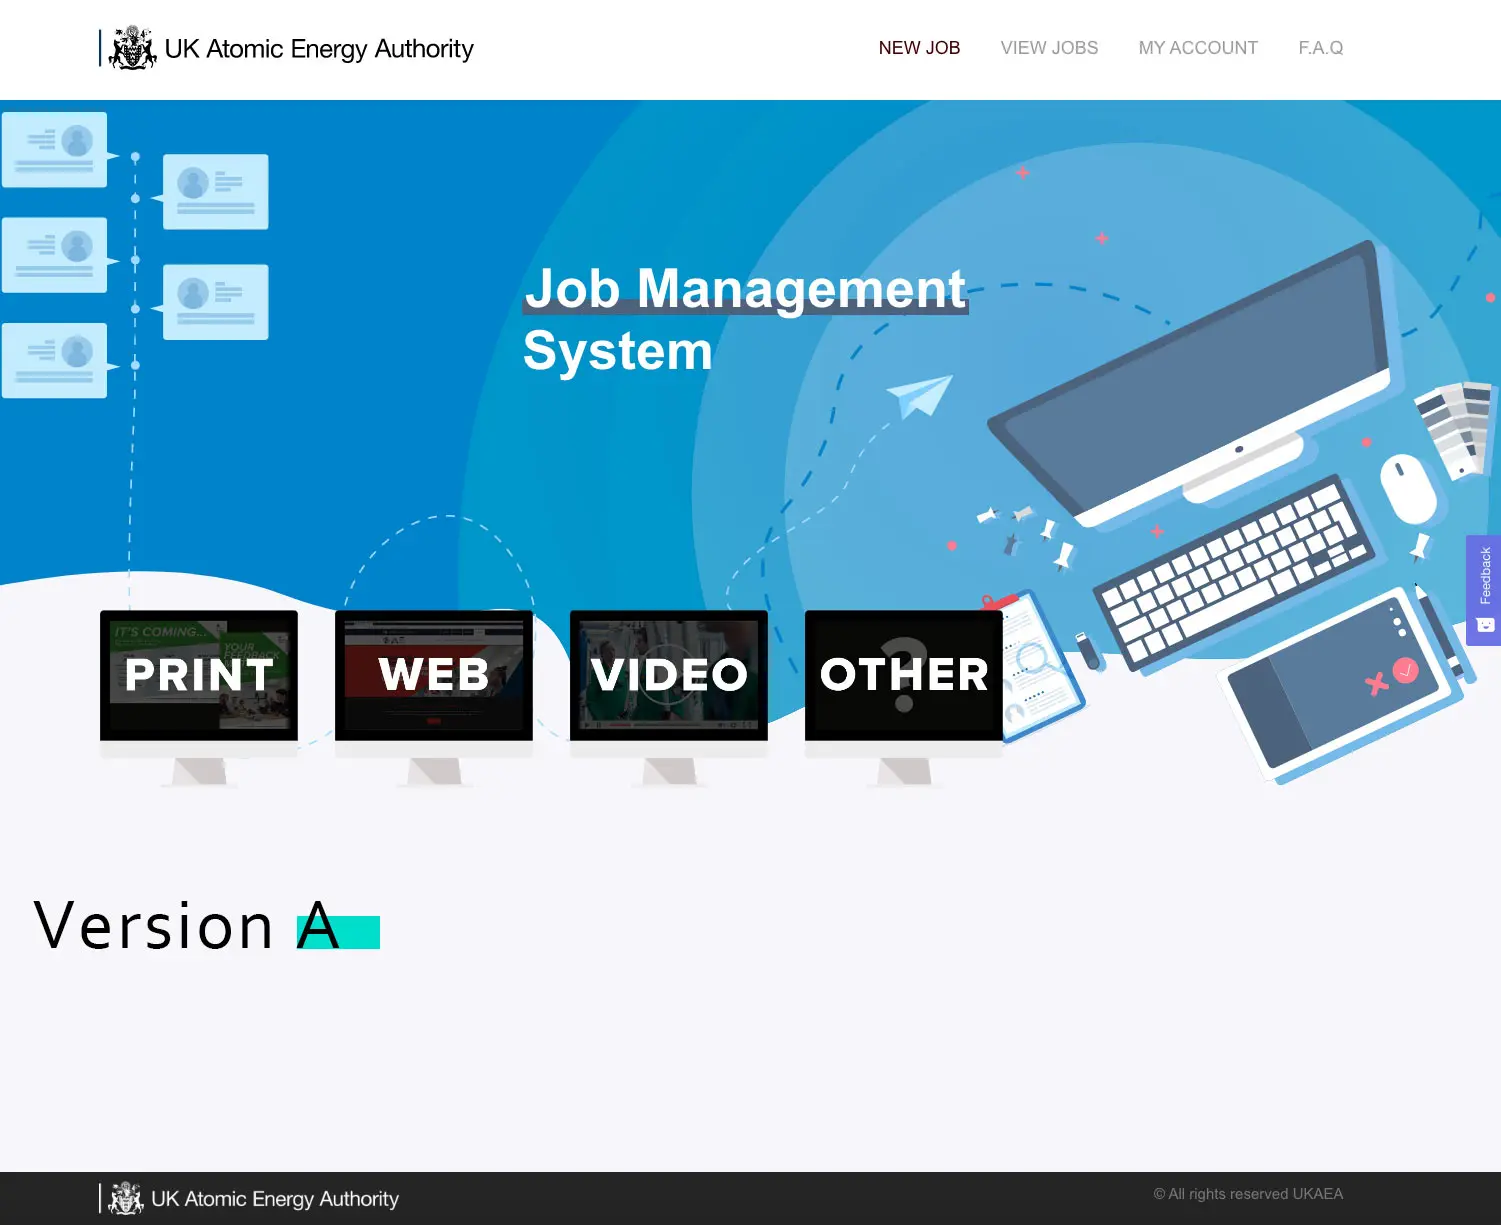
So, I created up an alternative version of the UI and set up a quick A/B test to see which one people liked better.
Development & MVP
Once the designs were given the green light, I got down to business building a Minimum Viable Product (MVP) using HTML5, CSS(SASS), and JavaScript. This MVP allowed us to test the user experience through various other software e.g Hotjar and identify further painpoints.
Final stage - Usign the power of Automation
Using Microsoft Power Automate
The website was connected with Microsoft office 365. After a client submits a job the data are transferred to a Microsoft Teams channel, which enables the team to collaborate on any new project and work efficiently.
At the same time a folder is created in SharePoint with Job title or CPS Code (Special Id to identify the project).
Concluding to the last step a task is created in Planner with details of the project and notifies the person in charge to assign someone to complete the project.
